Changing your website's domain name can be a daunting task, but with the right guidance and tools, it becomes a seamless process. Whether you're rebranding your business or simply looking for a more memorable domain, this guide will show you how to change the website domain name in WordPress with ease. At DamnWoo, we understand the importance of a strong online presence for small businesses and entrepreneurs. Our WordPress plugins are designed to help you elevate your website and achieve your goals. Say goodbye to cookie-cutter solutions and embrace the extraordinary as we delve into the steps of changing your domain name.
Changing a website domain name involves a few steps to ensure a smooth transition. Let's explore each step in detail:
1. Backup Your Website: Before making any changes, it's crucial to create a backup of your website, including the database and all files. This ensures that you have a safe copy of your website in case anything goes wrong during the domain name change.
2. Update DNS Settings: After acquiring your new domain name, you'll need to update the DNS settings. This step connects your new domain with your hosting provider. It may take up to 48 hours for the changes to propagate, so be patient.
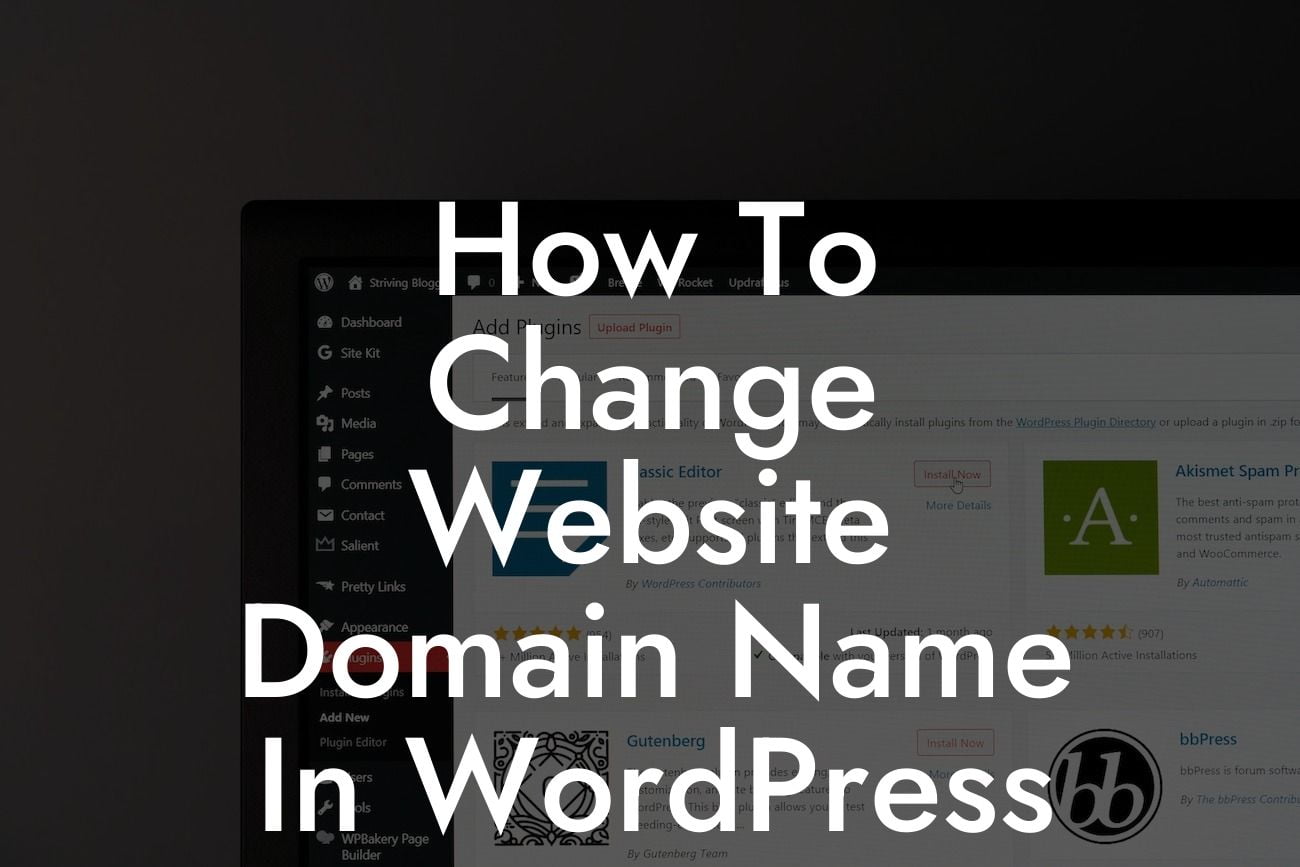
3. Update WordPress Address and Site Address: Login to your WordPress dashboard and go to Settings > General. Update the WordPress Address (URL) and Site Address (URL) fields with your new domain name. Save the changes.
Looking For a Custom QuickBook Integration?
4. Update Permalinks: Changing your domain name may affect the structure of your permalinks. Go to Settings > Permalinks and ensure that your preferred permalink structure is intact. Save the changes if necessary.
5. Search and Replace Old URLs: To update the internal links within your website, you'll need to perform a search and replace operation. There are various plugins available that simplify this process and ensure all instances of your old domain are updated to the new one.
How To Change Website Domain Name In Wordpress Example:
Let's consider an example of a small business called "ABC Web Design" that decided to change its domain name from "abcwebdesign.com" to "xyzwebstudio.com".
- After securing the new domain name, ABC Web Design backed up their website files and database.
- They contacted their hosting provider to update the DNS settings to point the new domain to their website.
- Logging into their WordPress dashboard, they went to Settings > General and updated the WordPress Address and Site Address fields with "xyzwebstudio.com".
- They checked their permalinks under Settings > Permalinks and ensured the structure remained the same.
- Using a search and replace plugin, such as DamnWoo's "URL Replace", ABC Web Design updated all instances of their old domain name in their website content and database.
Congratulations on successfully changing your website domain name in WordPress! By following the steps outlined in this guide, you've ensured a seamless transition and kept your online presence intact. As you explore your newly revamped website, don't forget to check out DamnWoo's collection of awesome WordPress plugins tailored for small businesses and entrepreneurs. Boost your website's functionality, security, and performance with our extraordinary plugins. Share this article with others who might find it valuable and explore our other comprehensive guides on DamnWoo. Remember, your online success is just a plugin away!
With DamnWoo, embrace the extraordinary and supercharge your online presence.

