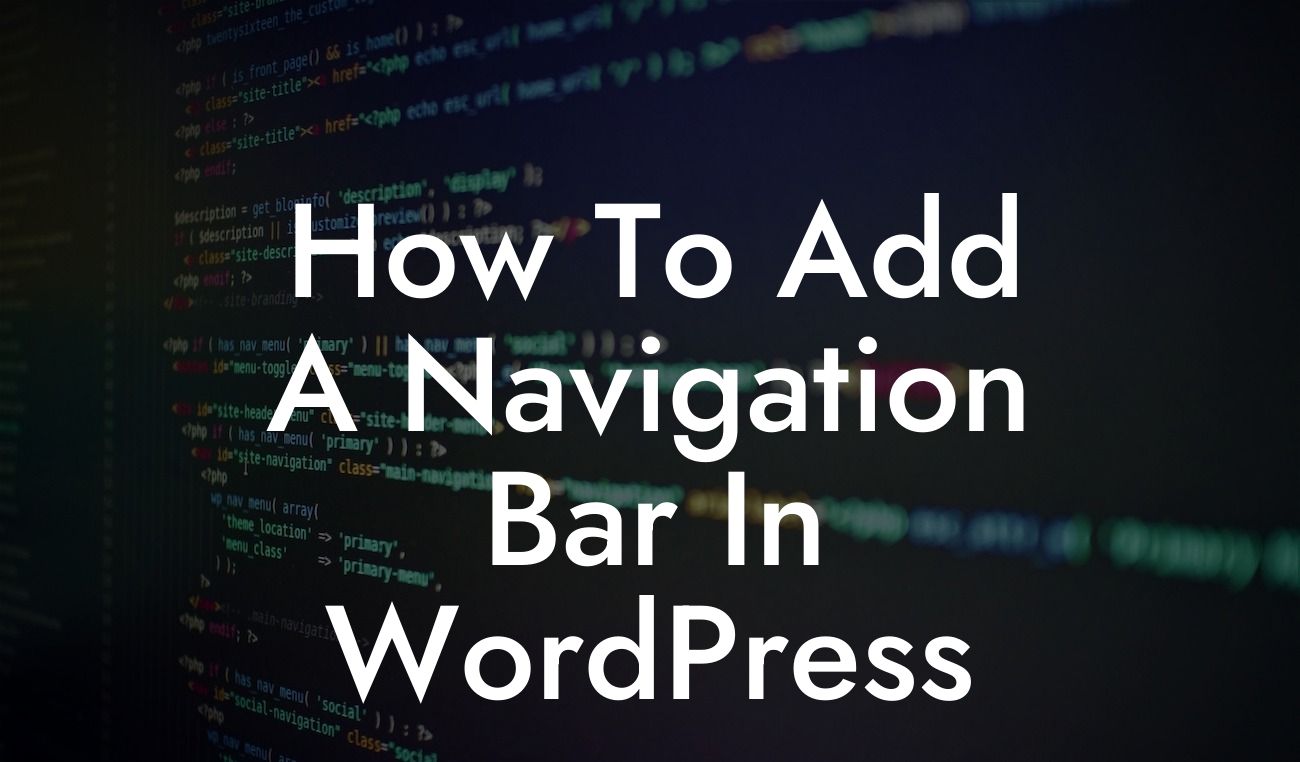
Creating a seamless user experience is key when it comes to running a successful WordPress website. One crucial element in achieving this is having a well-designed and functional navigation bar. A navigation bar serves as a roadmap for your visitors, allowing them to effortlessly navigate through your site and find the information they need. In this guide, we will walk you through the step-by-step process of adding a navigation bar to your WordPress website, ensuring that you can enhance your online presence and provide an exceptional user experience.
Adding a navigation bar to your WordPress website doesn't have to be a daunting task. By following these simple steps, you'll be able to create a professional and user-friendly navigation menu:
1. Choose a WordPress theme with built-in navigation menu support:
- Look for themes that offer customizable navigation menus as part of their features.
- Ensure the theme is responsive, meaning it adjusts to different screen sizes for optimal viewing on mobile devices.
Looking For a Custom QuickBook Integration?
2. Create a custom menu in WordPress:
- Access the WordPress dashboard and navigate to the "Appearance" tab.
- Click on "Menus" to create a new menu.
- Assign a name to your menu and click the "Create Menu" button.
- Start adding pages, categories, custom links, or other content to your menu structure.
- Arrange the items by using the drag-and-drop functionality.
- Set the menu as the primary navigation option for your site.
3. Customize your menu:
- Adjust the display location of your menu (e.g., header, footer, sidebar) based on your theme's options.
- Utilize the available styling options to configure the appearance of your navigation bar.
- Experiment with different font, color, and layout choices to match your brand and website design.
How To Add A Navigation Bar In Wordpress Example:
Let's say you own a small boutique clothing store and want to add a navigation bar to showcase your various product categories. By applying the above steps, you can create a custom menu that includes categories like "Women's Clothing," "Men's Clothing," "Accessories," and "Sale Items." This allows your visitors to easily navigate and explore the different sections of your online store, enhancing their shopping experience.
Adding a navigation bar to your WordPress website is a straightforward process that can significantly improve your site's usability. By following our detailed guide, you can create a seamless user experience and ensure that visitors can effortlessly navigate your site. Don't forget to explore other helpful guides on DamnWoo and check out our collection of awesome WordPress plugins that can supercharge your website. Share this article with others who could benefit from learning how to add a navigation bar in WordPress. Start elevating your online presence today!


