WordPress has revolutionized the world of website creation with its user-friendly interface and versatile features. As a small business owner or entrepreneur, you understand the importance of a visually appealing website that engages your audience. One crucial aspect of website design is managing image sizes effectively. In this comprehensive guide, we will walk you through the process of changing image sizes in WordPress, allowing you to enhance your website's aesthetics and optimize loading times.
Changing image size in WordPress can be done in a few simple steps. Let's dive into the details:
1. Starting with the basics:
- Understanding image size requirements: Different areas of your website may have specific image size requirements. For instance, your blog post featured image may need to be different from your website header image.
- Choosing the right image editing tool: Before resizing images, ensure you have a reliable image editing tool like Photoshop, GIMP, or online tools like Canva or Pixlr.
Looking For a Custom QuickBook Integration?
2. Resizing images using WordPress plugins:
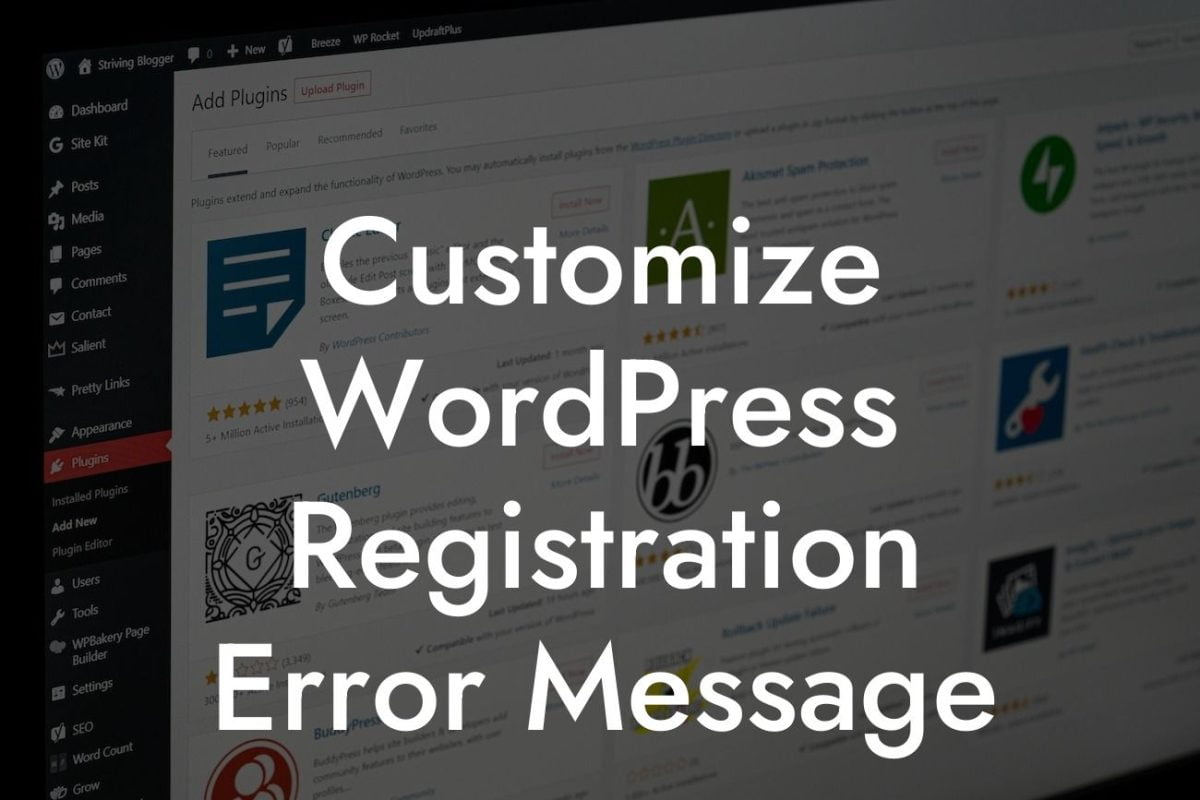
- Installing a suitable image optimization plugin: Explore options like Smush, Imagify, or ShortPixel to optimize and resize images directly within your WordPress dashboard.
- Adjusting image size settings: Once you've installed the plugin, navigate to its settings and customize image size dimensions according to your website's needs.
3. Manually resizing images:
- Accessing the Media Library: In your WordPress dashboard, go to Media > Library to manage your images.
- Editing individual images: Select an image and click on the Edit button. Look for options like Scale Image, Resize, or Crop, depending on the image editing software you're using.
- Saving changes: Once you've resized the image, save it with a different name to preserve the original and upload the resized version to your website.
How To Change Image Size Wordpress Example:
Imagine you run an e-commerce website, and you want to optimize product images to create a consistent and visually appealing layout. Using WordPress plugins like Smush, you can effortlessly resize and optimize images in just a few clicks. With the plugin installed, access the settings and adjust the image size dimensions specifically for your product images. This way, you can maintain uniformity and ensure quick loading times for your potential customers.
Congratulations! You've learned how to change image size in WordPress, empowering you to enhance your website's visual appeal and optimize loading times. Make sure to explore other guides on DamnWoo to take your online presence to new heights. And don't forget to try one of our awesome WordPress plugins, designed exclusively for small businesses and entrepreneurs like you. Share this guide with others who might find it helpful, and let us know your thoughts in the comments below!


