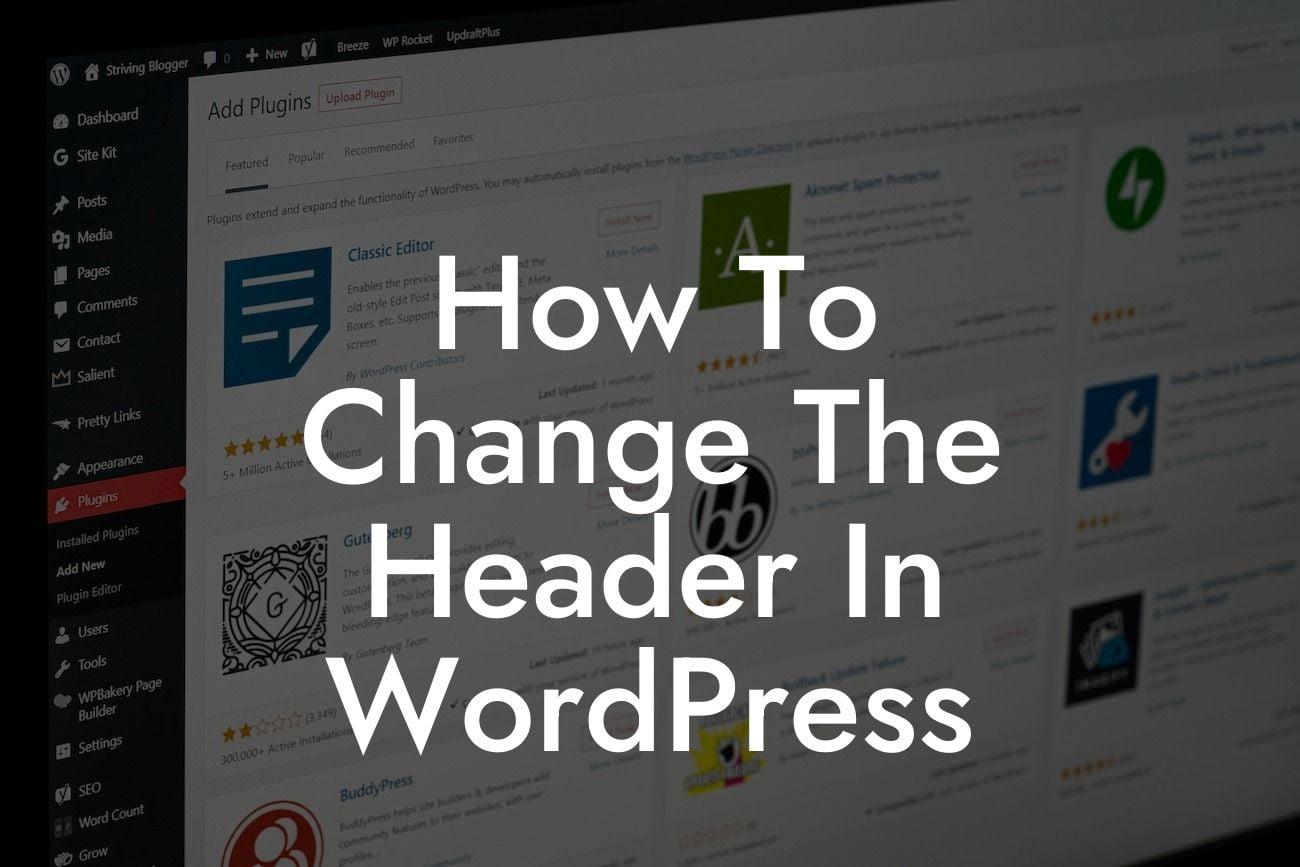
Are you looking to give your WordPress website a personalized touch? One way to achieve this is by changing the header. Your website's header plays a crucial role in its appearance and branding, and by customizing it, you can make your site more unique and appealing. In this comprehensive guide, we will walk you through the step-by-step process of changing the header in WordPress. Get ready to elevate your online presence and supercharge your success with DamnWoo's exceptional WordPress plugins designed exclusively for small businesses and entrepreneurs.
Changing the header in WordPress may seem like a complicated task, but fear not – it's actually quite straightforward. In this section, we'll break it down into easy-to-follow steps, ensuring you achieve the desired result effortlessly.
Step 1: Navigate to your WordPress dashboard.
To start, log in to your WordPress dashboard using your admin credentials. Once logged in, you'll have access to all the necessary tools to modify your website's header.
Step 2: Access the theme customization options.
Looking For a Custom QuickBook Integration?
Locate the "Appearance" tab on the left-hand sidebar of your dashboard and click on it. This will open a drop-down menu with several options. Select "Customize" to access the theme customization options.
Step 3: Find the header customization settings.
Within the theme customization menu, you'll find various sections to customize different areas of your website. Look for the section specifically dedicated to header settings. Note that the location of this section may vary depending on your chosen theme.
Step 4: Choose the preferred header type.
Once you've found the header customization settings, explore the available options to select your preferred header type. Depending on your theme, these options may include a static image, a slider, a video, or even a customizable widget area.
Step 5: Customize the header.
After selecting your desired header type, it's time to customize it further. This typically involves uploading your own images, adjusting colors and fonts, and adding any additional elements that align with your branding. Take advantage of the customization options provided by your theme to make your header truly unique.
How To Change The Header In Wordpress Example:
Let's consider a realistic example to understand the process better. Suppose you have a small online boutique, and you want to change your header to showcase your latest collection. After accessing the header customization settings, you choose a static image header. You then upload a high-quality image featuring your stunning designs. Additionally, you adjust the font style and color to match your brand identity. Within minutes, your WordPress website now boasts an eye-catching header that perfectly represents your boutique's aesthetic.
Congratulations! You've successfully learned how to change the header in WordPress. By customizing your header, you've taken an important step towards enhancing your website's appearance and branding. But why stop here? Explore other engaging guides on DamnWoo to unlock further ways to optimize your online presence. Don't forget to check out our exceptional WordPress plugins designed exclusively for small businesses and entrepreneurs. Elevate your success and attract more visitors with DamnWoo's extraordinary solutions. And remember to share this valuable article with fellow WordPress enthusiasts – because extraordinary knowledge is meant to be shared!


