---
Installing a WordPress plugin may seem like a daunting task, but with the right guidance, it can be a breeze. In this step-by-step guide, we'll walk you through the installation process and help you harness the power of plugins to enhance your website's functionality. Whether you're a small business owner or an entrepreneur, mastering WordPress plugins will elevate your online presence and supercharge your success. Say goodbye to cookie-cutter solutions and embrace the extraordinary. Let's dive in!
Installing a WordPress plugin is a straightforward process that can be done in a few simple steps. Here's how:
1. Research and choose the right plugin: Before diving into the installation, it's crucial to choose the right plugin for your specific needs. Consider your website's requirements and search the WordPress plugin directory or reputable third-party marketplaces for a suitable solution. Pay attention to the plugin's ratings, reviews, and compatibility with your WordPress version.
2. Download the plugin: Once you've found the perfect plugin, download it to your computer. Most plugins are available as zip files, so make sure to keep it handy on your desktop or a location you can easily access.
Looking For a Custom QuickBook Integration?
3. Log in to your WordPress dashboard: To begin the installation process, log in to your WordPress dashboard. This can be done by adding "/wp-admin" to your website's URL (e.g., www.yourwebsite.com/wp-admin).
4. Navigate to the plugins menu: In your WordPress dashboard, locate the "Plugins" menu on the left-hand side. Click on it to expand the options.
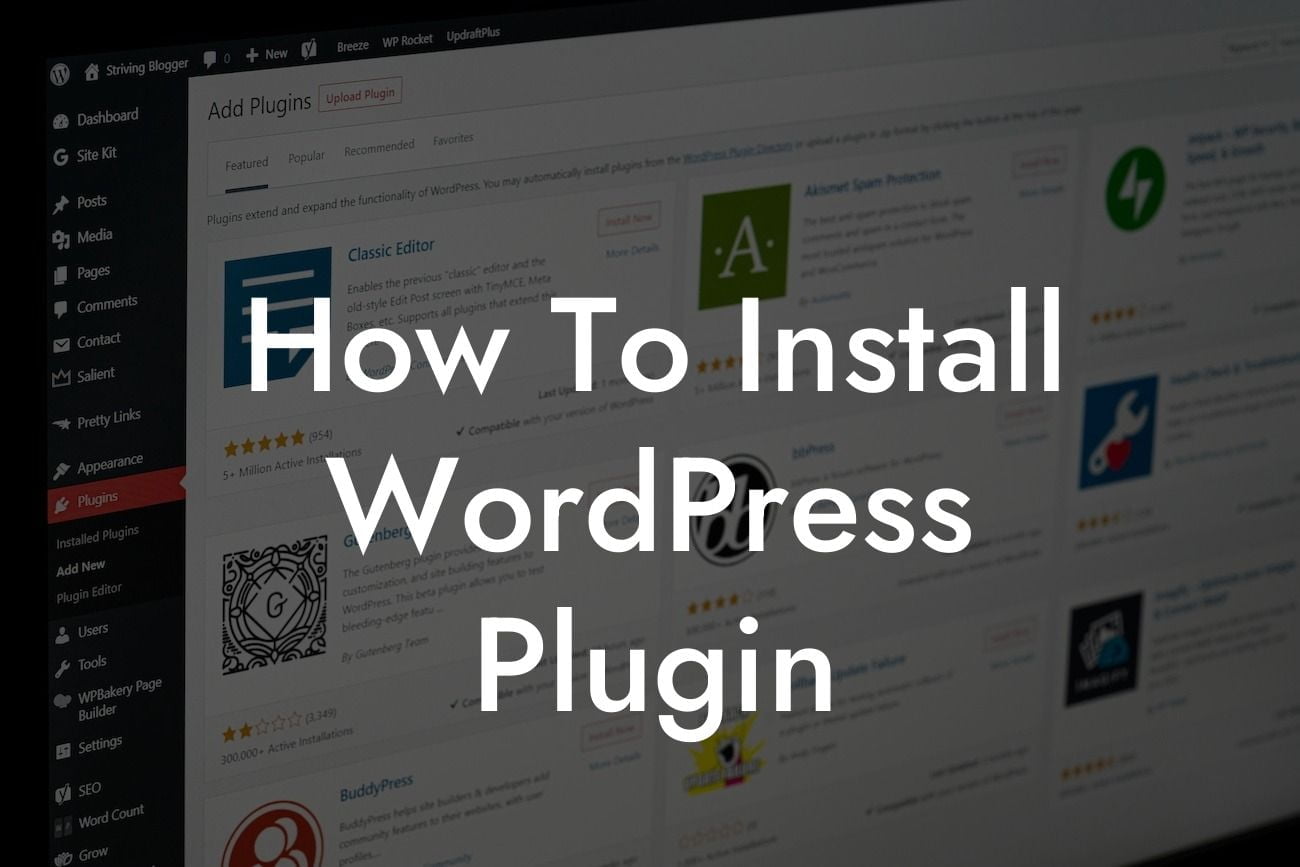
5. Choose "Add New": From the expanded plugins menu, select "Add New." This will take you to the WordPress plugin installer.
6. Upload the plugin: In the plugin installer, click on the "Upload Plugin" button at the top of the page. Then, click on the "Choose File" button and select the plugin zip file you downloaded earlier. After selecting the file, click "Install Now" to initiate the installation.
7. Activate the plugin: Once the plugin is successfully installed, you'll see a prompt to activate it. Click on the "Activate" button, and voila! Your selected plugin is now ready to enhance your WordPress website's capabilities.
How To Install Wordpress Plugin Example:
Let's say you're a small business owner looking to boost your website's search engine optimization (SEO). You've found a highly-rated SEO plugin that promises to optimize your content and improve your rankings on search engine result pages. Following the steps mentioned above, you download the plugin, log in to your WordPress dashboard, navigate to the plugins menu, and upload the plugin file. After activating it, you can now configure the plugin settings according to your business's SEO needs. With this new plugin, you're one step closer to achieving higher visibility and attracting more organic traffic to your website.
Congratulations! You've successfully learned how to install a WordPress plugin. By mastering this process, you're now equipped to enhance your website's functionality and take your online presence to the next level. Explore more engaging guides on DamnWoo, where we provide exclusive products tailored for small businesses and entrepreneurs. Don't forget to try one of our awesome plugins to unlock even more potential for success. Share this article with others who might find it useful and let's embrace the extraordinary together.
Note: The content inside the "Detailed Content" and "How To Install Wordpress Plugin Example" sections should be output in HTML format according to your website's style.


